Scott
If you have ever been involved in building a software product, you have likely heard of a prd. A product requirements document serves as the blueprint for what you are building, why you are building it, and who you are building it for. However, writing one for the first time can feel incredibly overwhelming, especially when you are trying to coordinate with designers and developers who speak completely different professional languages. In this beginner's guide, we will answer what is a prd, explain its core purpose, and show how modern collaborative workspaces like Pixso simplify the entire writing and design process.
Part 1. The Basics: What is a PRD?
First, let's establish the prd meaning. A product requirements document is a comprehensive guide that outlines the purpose, features, functionality, and behavior of a software product. To grasp the fundamentals, we must look closely at the prd meaning in the context of the product lifecycle. The main goal of a prd is to align everyone on the development team, product managers, designers, engineers, and stakeholders, on a single vision.

If you ask ten different product managers 'what is a prd', they might give you slightly different answers. However, they will all agree on one thing: it is the single source of truth for the product team. Understanding the prd meaning helps you distinguish it from other business documents. Many beginners confuse a PRD with a Business Requirements Document (BRD) or a Market Requirements Document (MRD):
- Business Requirements Document (BRD): This answers why the business is pursuing the project. It outlines high-level business goals, revenue models, and stakeholder expectations without getting into technical details.
- Market Requirements Document (MRD): This defines who the target users are and what market opportunities look like. It covers competitor analysis and customer pain points, guiding the product's positioning in the broader industry.
- Product Requirements Document (PRD): This gets highly technical. It defines what features need to be built and how they must behave to solve the user's problems.
A product requirements document is not a static piece of paper. It is a living document that must evolve as your team conducts user testing, updates design frames, and uncovers engineering constraints.
Part 2. Unifying Requirements and Design: How Pixso Bridges the Gap
When you write a product requirements document in a traditional text editor, you run into a classic problem: information disconnect. The product manager writes requirements in one doc, the designer builds mockups in a separate design tool, and the developer looks at both while trying not to lose their mind. Every time a requirement changes, the PM has to take new screenshots, paste them into the document, and manually tag the team. It is a slow, clunky, and error-prone process. At its core, the deeper prd meaning is about communication, and traditional static text documents are terrible at dynamic communication.
This is where Pixso changes the game. Pixso acts as a unified platform where document writing, diagramming, and UI prototyping coexist on a single canvas.
1. Starting with the Pixso Whiteboard
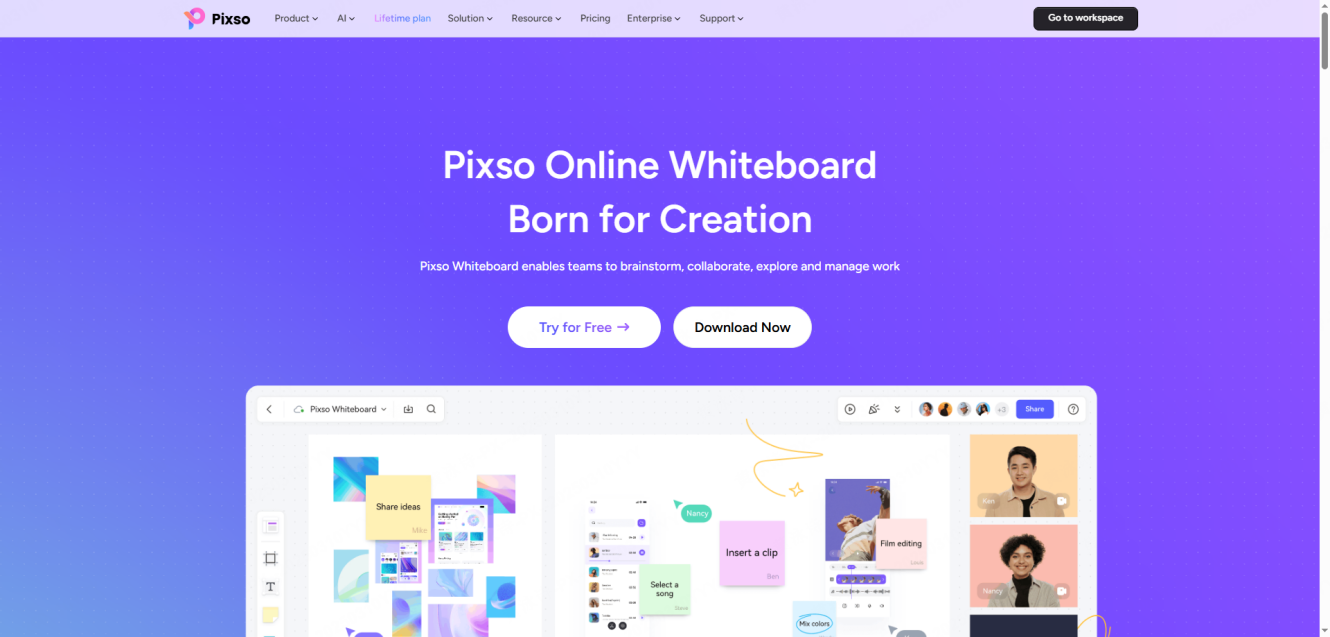
Before you even begin drafting your technical specs, you need a space to brainstorm. The Pixso Whiteboard is the perfect playground for this early phase. You can map out your business models, run competitive analyses, and sketch user flows alongside your team in real time. Once you have a clear vision on the whiteboard, you can instantly turn those mind maps and user flows into a structured layout inside your workspace.
2. Live Document and UI Synchronization
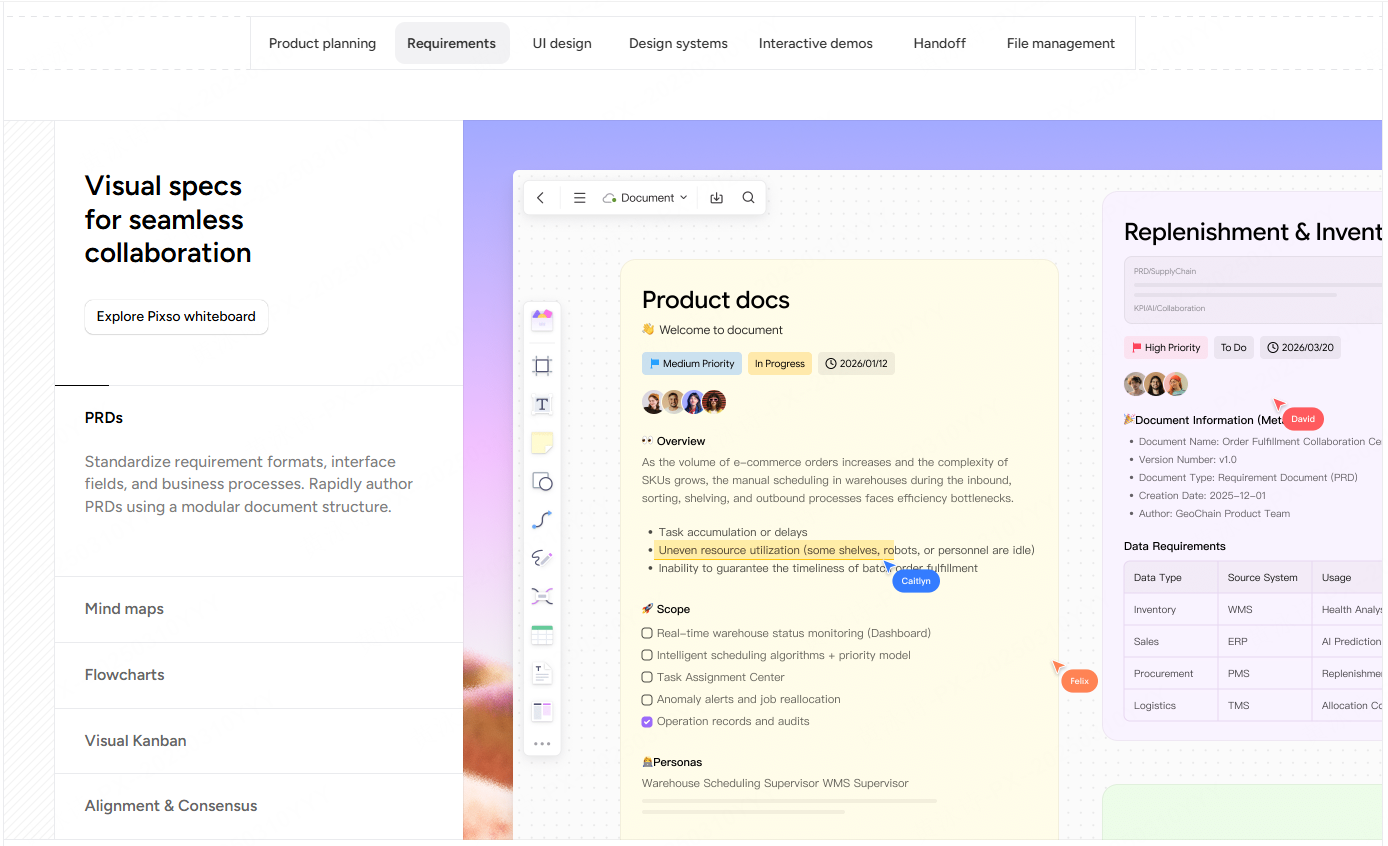
How Pixso bridges the gap between your prd and UI design is incredibly simple but powerful. Instead of pasting static screenshots into your documents, you can embed live, interactive design frames directly into your writing. The text in your requirements is bi-directionally bound to the actual layers in your prototypes. If a designer changes a button color or swaps a layout on the canvas, the embedded view in your document updates instantly. You don't have to keep taking screenshots or worrying about mismatched information.
3. Native AI-Assisted Writing and Editing
If you are struggling with writing technical descriptions, Pixso's built-in AI assistant can help. The AI can draft complete functional requirements, rewrite vague descriptions to be more precise, and suggest standard industry safety and compliance clauses. If you are designing for global markets, the AI can automatically translate your requirements into multiple languages, ensuring your offshore development teams stay perfectly aligned.
4. Enterprise-Grade Collaboration Controls
Coordinating a product launch requires careful role management. Pixso offers granular, folder-level permission controls so you can manage who can edit requirements and who can view them. Team members can leave contextual comments directly on specific sentences or design components. Furthermore, Pixso supports version history snapshots, allowing you to compare historical changes and roll back to previous drafts whenever a product pivot occurs. This guarantees that all collaborators are looking at the same prd drafts in real time.
Part 3. Standard Sections Every Product Requirements Document Needs
A standard product requirements document should follow a logical flow that developers can easily scan. Let's look at the core sections that make up a professional layout:
- Executive Summary and Objectives: State the core problem you are solving, the target user, and why this release matters to the company. Keep this section brief but highly impactful.
- User Stories and Scenarios: Write detailed user stories (e.g., 'As a user, I want to reset my password so I can log back into my account'). User stories frame features through the eyes of the consumer, ensuring developers understand the underlying user intent.
- Feature List and Scope: List the exact features included in this release, and clearly outline what is out of scope to prevent scope creep. Clearly outlining what you are not building is just as important as outlining what you are building.
- User Interface (UI) and Flowcharts: Embed your interactive user flows and mockups so developers have a clear visual reference. Inside Pixso, these visuals update live, so you never have to worry about showing an outdated screen.
- Functional Requirements and Logic: Detail how the system should behave under different circumstances. What happens if a user enters an invalid email? What happens if their internet connection drops mid-transaction?
- Compliance and Non-Functional Requirements: Outline non-functional performance metrics, page load speeds, and privacy compliance guidelines like GDPR or ADA accessibility standards.
- Acceptance Criteria: Provide a checklist that QA testers can use to verify that the feature works exactly as intended. This checklist serves as the final barrier before your code goes live to actual users.

Part 4. How to Write a PRD: A Step-by-Step Guide for Beginners
Knowing how to write a prd is a superpower for any aspiring product manager. It is not about writing fifty pages of technical jargon; it is about providing clarity. Here is the step-by-step process of how to write a prd that your engineering team will actually read and love:
Step 1: Define the 'Why' First
Do not start with the feature list. Start by defining the user problem. Use the Pixso Whiteboard to brainstorm user pain points, list out assumptions, and gather customer feedback. Once you have a clear understanding of the 'why', document it in your summary.
Step 2: Map Out User Journeys
Before writing technical specifications, draw your user flows. This helps you identify missing edge cases, error states, and logical gaps. You can draw these directly alongside your design canvas in Pixso, making it easy to see how a user navigates from page to page.
Step 3: Write Clear User Stories
Draft your user stories following the standard format: As a [type of user], I want to [perform some action] so that [achieve some goal]. This keeps the focus entirely on the user's needs, rather than getting bogged down in implementation details.
Step 4: Add Visual UI Mockups
An image is worth a thousand words, and an interactive prototype is worth a thousand static images. Embed your live design frames directly into your writing. This ensures your engineers have real-time visual references that update automatically as the design team refines the user interface.

Part 5. Templates and AI: Lowering the Entry Barrier for New PMs
If you are struggling with how to write a prd from scratch, relying on standardized templates is the best way to maintain professional standards. Pixso comes built-in with an extensive template library tailored to international SaaS and e-commerce models. These templates feature pre-built frameworks for writing user stories, mapping feature priorities, and outlining acceptance criteria, which massively lowers the entry barrier for new product managers.
Furthermore, the template library includes pre-written chapters for common overseas industry regulations. For example, instead of manually writing GDPR compliance guidelines, accessibility frameworks, or payment checkout steps, you can drag and drop these standardized chapters directly into your workspace.
When it is time to deliver your requirements, Pixso makes handoff seamless. You can export your entire prd, including all embedded UI wireframes and flowchart diagrams, into standardized PDF or Markdown formats in a single click. From there, your developers can open the Dev Mode panel to inspect CSS styles, inspect bound requirements, and copy assets without any tool locking or format issues. This guarantees that your ideas move smoothly from whiteboard concepts to production-ready code.

Conclusion
Writing a product requirements document does not have to be a painful, isolated process. By understanding the fundamentals of what makes a great requirements document, respecting regional compliance standards, and keeping your engineering team aligned, you can build software products that users love. Modern collaborative platforms like Pixso take the technical headache out of the process, offering automatic standard templates, live design integration, and seamless exporting. Whether you are building a simple mobile app or managing a complex enterprise platform, using the right tools ensures that your product roadmap stays perfectly in sync with your development team from day one.